Configuring Emacs from Scratch - Intro
(You can read this post on Medium.)
Intro
I have been using Emacs for 6 years now and for the last couple of years, Emacs has been my primary tool for writing Clojure at Helpshift Inc. Over the years, I have realized the value of Emacs. It has made me productive at work and org-mode has certainly made me more disciplined. The idea of having an editor which you can customize as it runs is itself amazing! :)
Unfortunately, I have also realized that getting on-boarded on Emacs is not an easy path. Many people try it for a few days and go back to their IDEs. So I’m going to try and write about customizing Emacs from scratch. My goal is to make this process simpler (or at least well documented) and help people get comfortable with Emacs until the point they realize its true value! :)
Installation and interactive tutorial
I’m going to use Emacs 26.1 on macOS. You can get it here for macOS, Linux or for Windows. (The version doesn’t really matter. Most of the things written here will work for any Emacs version.)
Once you start Emacs, you will see this:
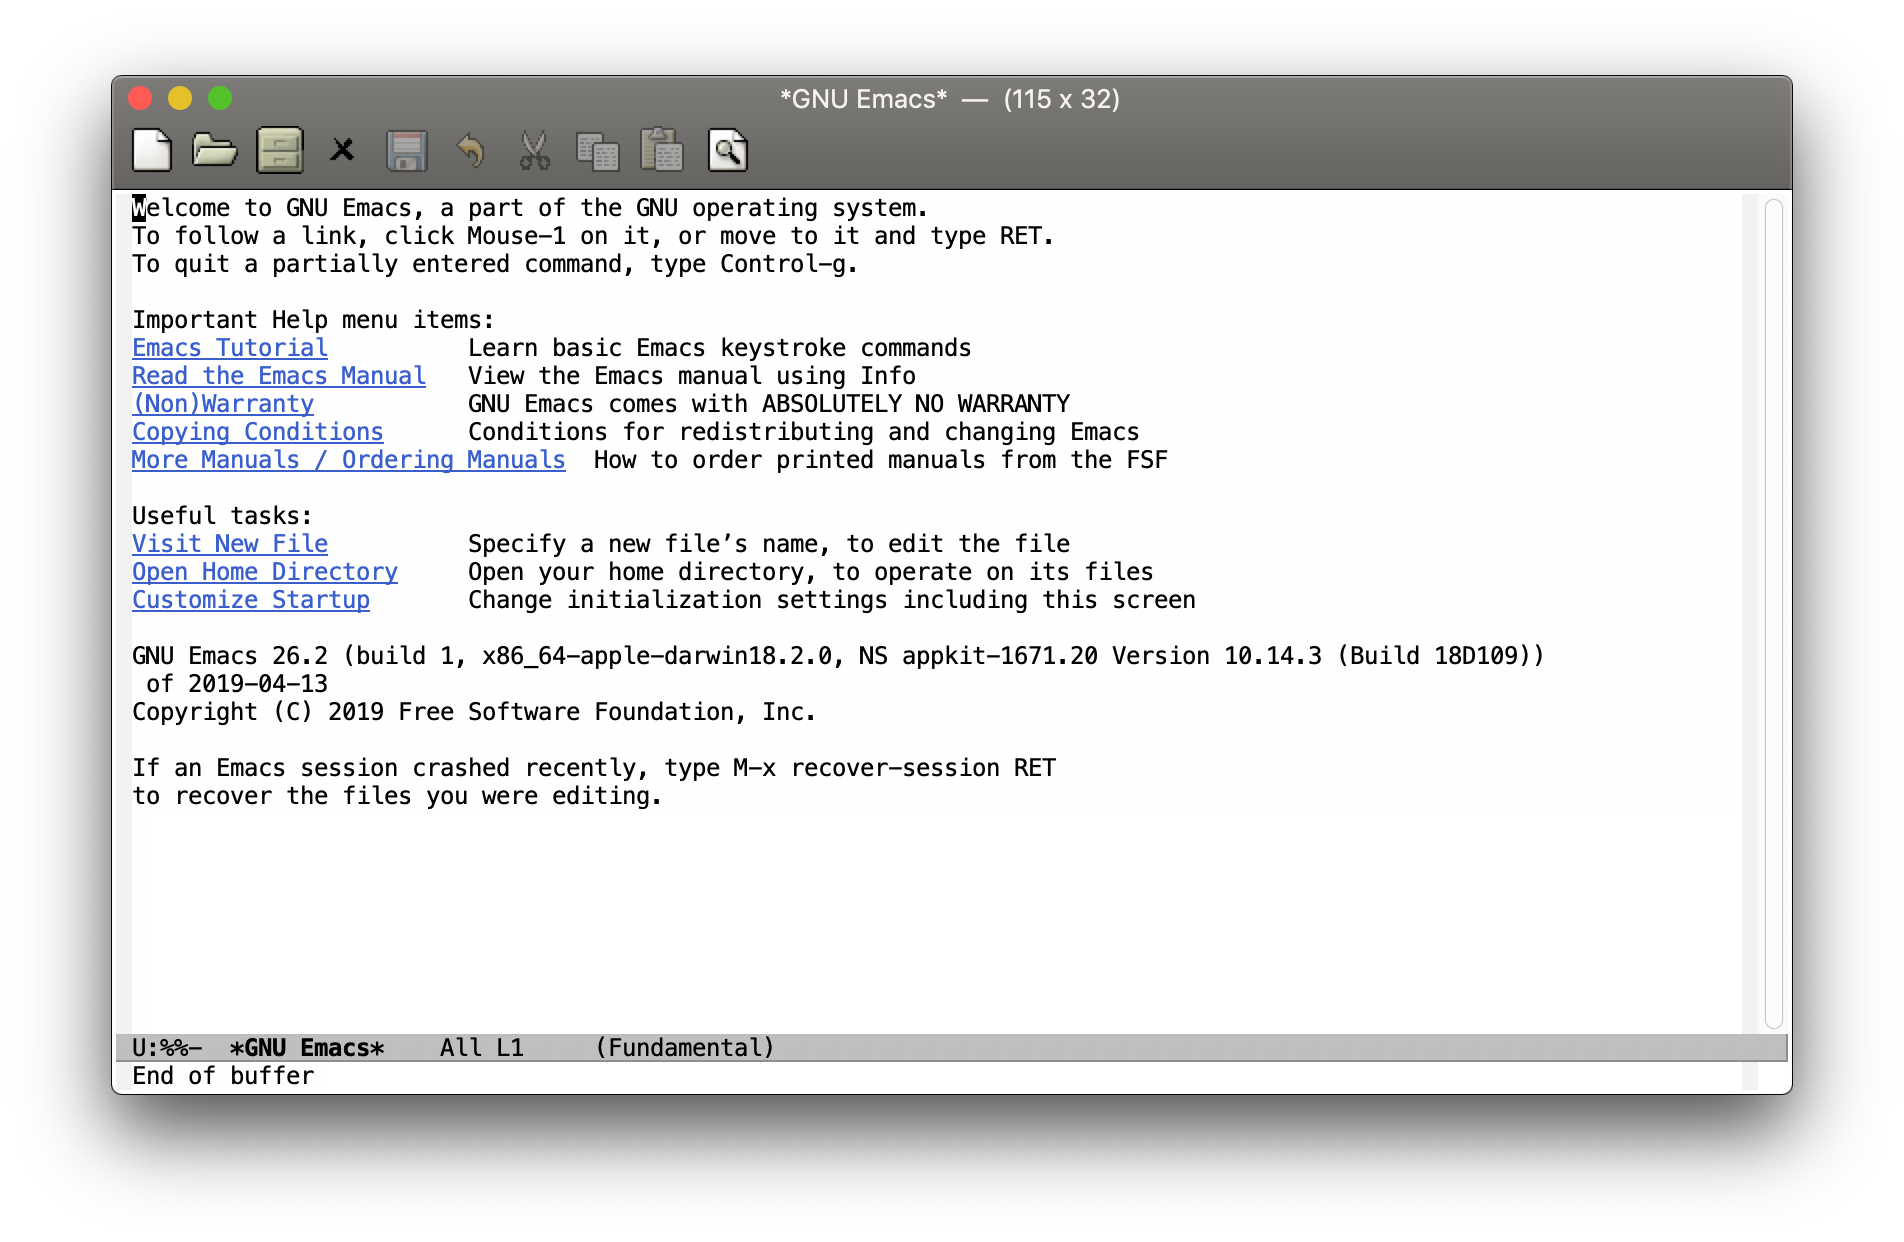 Startup screen
I would advise everyone to go through the “Emacs Tutorial” section displayed above. The Emacs way of doing things is a bit different and this interactive tutorial does a great job explaining it. It is a bit long but you won’t regret spending time on it.
But before you go through the tutorial, please consider mapping the Caps Lock key to control. Control is used a lot in Emacs, and if you don’t use Caps Lock as control, you’ll suffer from Emacs pinky. Here’s how to do it for macOS, Linux, and Windows.
If you don’t want to read this (you really should though!), here’s the gist of the tutorial:
Tutorial Summary
(If you have followed the interactive tutorial, skip this section and go to the Customizing defaults section)
-
Emacs uses the control and meta (
alt/option) keys a lot. The key bindings with control and meta will be described asC-<key>andM-<key>respectively. -
Press
C-x C-c(C-xand thenC-c) to exit Emacs. -
C-gwill quit the current operation. So if you are stuck and you don’t know what do to, pressC-g. -
The cursor location is called “point” in Emacs.
-
Use
C-ffor moving point forward,C-bfor backward,C-nfor going to next line andC-pfor previous line. -
C-afor going to beginning of current line.C-efor end of current line. -
C-vfor going to next page.M-vfor previous page. -
The above key bindings when used with meta will work on a word level abstractions. For example,
M-fwill move the cursor one word ahead (vs one character withC-f).M-a,M-ewill move between sentences. -
Files are opened in “buffers” in Emacs. There could be a buffer which is not associated with any file. But a file will always have a buffer associated with it when you open it in Emacs.
-
M-<(Meta + Less than) will take you to beginning of a buffer andM->(Meta + Greater than) will take you to end of a buffer. -
Press
C-x k <RET>to kill a buffer. -
Press
C-x 3to split the Emacs window horizontally. PressC-x 1to make the split screen go away. -
Press
C-x C-fto open a file. -
C-x C-sto save your edits. -
When you open a few file, the previous buffer still remains active. To go to the previous buffer, press
C-x band type the buffer name (file name) and press<RET>. -
To see the list of buffers, press
C-x C-b. Press q to quit this window. -
The term “Windows” in Emacs is not the same as the one used by your OS. In Emacs, the OS “windows” are called “frames”. The split screens in Emacs are called “windows”. For example, when you split your screen, you can say that you have 2 “windows”.
-
Use
C-x oto move among windows. -
C-dwill delete a character in backward direction. -
C-kwill delete text from point to end of current line. -
To search for text, press
C-sand type the text to be searched for. PressingC-safter that will take you to the next occurence of the text.C-smoves in the forward direction andC-rmoves in the backward direction. Both have a wrapping behavior. PressRETto stop search and move the point to the current occurence. -
If your point is on some text you want to search for, press
C-sw to fill the search minibuffer with text under point. -
You can use prefix arguments to repeat commands. Press
C-uto give a prefix argument to a command. For example, to go 10 pages ahead, you can pressC-u 10 C-v. Or to add a line of 72 *s, pressC-u 70 *. -
Instead of dragging to select text, press
C-<SPC>(Control + Space) where you want to start dragging and then move the point to where you want to end. Text you have selected will be marked with a highlight. PressC-wto cut orM-wto copy. -
To paste, press
C-y. Pasting is called “yanking” in Emacs terms. “Cutting” is called “killing”. -
You can also yank text that was killed previously, press
C-yand then keep pressingM-y. You will go on seeing your kill history. This is because Emacs saves the text you kill in a ring data structure called “kill ring”. -
Press
C-/to undo. Undo in Emacs is very different from other editors. (You can read about it in the Tutorial; or just play with it to know how it works.) -
Emacs has a concept of modes. For any buffer, there is one major mode and there could be multiple minor modes. For example, if you open a python source code file, the major will be python-mode. Emacs will try to detect and use a proper major mode for any file that you open. Minor modes are modes that do small tasks such as auto indenting, spell checking, showing line numbers, etc. So more than one minor mode can be enabled per buffer.
-
The line that you see in the lower part of Emacs:

Mode line
- It is called “mode line” and it displays useful information about the current buffer and the status of Emacs. For example, it displays which is the major mode that is currently enabled. In the above image, it is “Fundamental” mode.
Customizing defaults
Now that we have completed the interactive Emacs tutorial, we don’t want Emacs to show the tutorial message when Emacs starts. When Emacs starts up, it looks for one of these 2 files: ~/.emacs.d/init.el or ~/.emacs. If it finds one of these, it will start executing the code in these files. The code in these files is supposed to be Elisp code. Emacs Lisp or Elisp is the language created for and used by Emacs.
So now we will go ahead and create this file.
-
Press
C-x C-fand write.emacs.d/init.el(~/will already be there) and press<RET>. A new buffer will open up. -
Write these contents in that buffer: (setq inhibit-startup-message t) and save (
C-x C-s). -
Quit Emacs and restart.
-
Emacs will not show the tutorial screen and instead it will start with a buffer named scratch. By convention, buffers which have names starting and ending with a * do not have any files associated with them.
Congratulations on your first Emacs customization! :)
Now let’s try to read and understand the Elisp code that we just wrote.
(setq inhibit-startup-message t)In simple terms, setq is a function which sets value of the given variable to the given value. In this case, it will set inhibit-startup-message to t.
Now is a good time to use the self documenting feature of Emacs. setq is a function and we can get help on functions by pressing C-h f (C-h for help and f for functions). Press C-h f, type setq and press <RET>. A window will open up a buffer named *Help* (again, not associated with a file) which will contain information about the setq function. Press C-x 1 to maximize *scratch* again.
Now let’s see what inhibit-startup-message is. Since it is a variable, we will ask Emacs to tell us more about variables by pressing C-h v. Press C-h v, type inhibit-startup-message and press <RET>. Notice that for variables, their current value is also shown. This time to quit the documentation window, switch to it using C-x o and then press q.
Why was this help window quit when we pressed q? The *scratch* window will not quit on pressing q, it will just insert the letter q. Let’s find out why!
In Emacs, each key is bound to a function and there is a way to figure out which key is bound to which function. And these bindings are per buffer. So q must be bound to two different things as we see two different behaviors on pressing q.
Switch to the help buffer by pressing C-x b *Help* <RET>. Now let’s find out what q is bound to. Press C-h k and press q. “q runs the command quit-window”. Now we know why q is making the window go away; it was executing the function quit-window.
Let’s figure out what q is bound to in the *scratch* buffer. Quit the help window by pressing, guess what, q! You’ll be back on the *scratch* buffer. Now press C-h k and then q. “q runs the command self-insert-command”. self-insert-command just inserts the character that you have typed. So all the printable characters on the keyboard must be bound to self-insert-command. You can try verifying this. Also, you can read documentation for self-insert-command just like the way we read the documentation for setq.
Now we fully understand why q was acting differently in different buffers. And guess what, we did not leave Emacs even once! :)
(Something fun to try on your own: Find out what C-h k is bound to.)
Since we like to use the keyboard for doing all our tasks, the tool bar is not very useful for us.

Tool bar
So let’s disable it. Go to your init.el buffer and write (tool-bar-mode -1) on a new line. Now let’s make this code take effect without restarting Emacs.
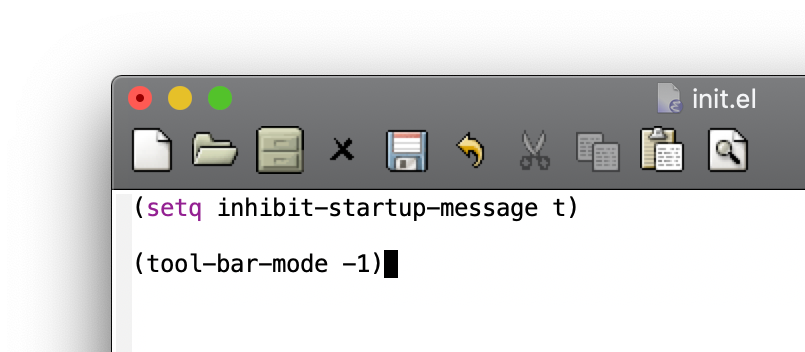
init.el
Execute this code by going one character after the closing parenthesis. Press C-x C-e to execute this code. The tool bar is gone!
Congratulations on your first live Emacs customization! :)
(Now you should find out what C-x C-e is bound to. It is a good habit to always check which functions you are using instead of just remembering key bindings.)
Now let us disable the menu bar and the scroll bar as well. Put this code in a new line in init.el:
(menu-bar-mode -1)
(scroll-bar-mode -1)
To clearly see which line you are on, you can have current line highlighted with this code: (global-hl-line-mode t). You will need to execute this line as we did before.
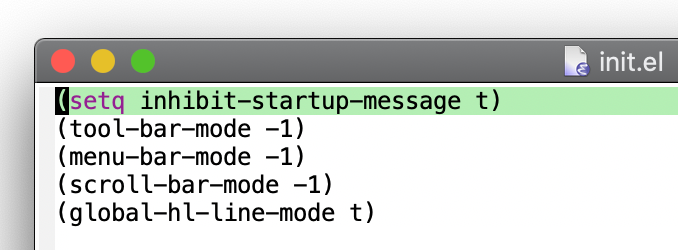
global-hl-line-mode
Another important thing which is missing is knowing the line numbers and column numbers. For that, add (line-number-mode t). You’ll see (line #, column #) coordinates of the point location in the mode line. To go to a particular line, press M-g M-g, enter the line number and press <RET>.
If you use macOS, it is easier to use the “command” keys as “meta”. Add this line to make this happen: (setq mac-command-modifier 'meta).
What we have in the last 4 lines of Elisp above is just changing minor modes. We have disabled minor modes which display the tool bar, the menu bar and the scroll bar; we have enabled a minor mode which highlights the current line in the buffer. If you want more information on the currently enabled major and minor modes, press C-h m. On pressing this, a minibuffer will open up. Amogst other things, this buffer will describe commonly required key bindings for the respective modes.
Now that we have seen how to configure Emacs defaults to suit your needs, you can read the Use better defaults section of my Emacs config and take the things that would be useful to you. [Linux and macOS users: Please go through the Better interaction with X clipboard.]
Finally, let’s have a habit of writing comments for all the code that we have written. Our init.el will look like this:
;; Do not show the startup screen.
(setq inhibit-startup-message t)

;; Disable tool bar, menu bar, scroll bar.
(tool-bar-mode -1)
(menu-bar-mode -1)
(scroll-bar-mode -1)

;; Highlight current line.
(global-hl-line-mode t)

;; Use `command` as `meta` in macOS.
(setq mac-command-modifier 'meta)
Conclusion
Throughout this session, we have used C-h <some key> many times. C-h is the prefix key for getting help in Emacs. We have used it quite well here and you should continue following this pattern of using help to know more about Emacs! :)
Knowing how to use the help system is crucial for mastering Emacs!